Starting my build

Building a delta throttle? Make a thread here to share your progress and ask questions.

Re: Starting my build

Postby SC-Maik » Wed Mar 18, 2015 8:38 pm

Jeruw gave me a great idea for my throttle...

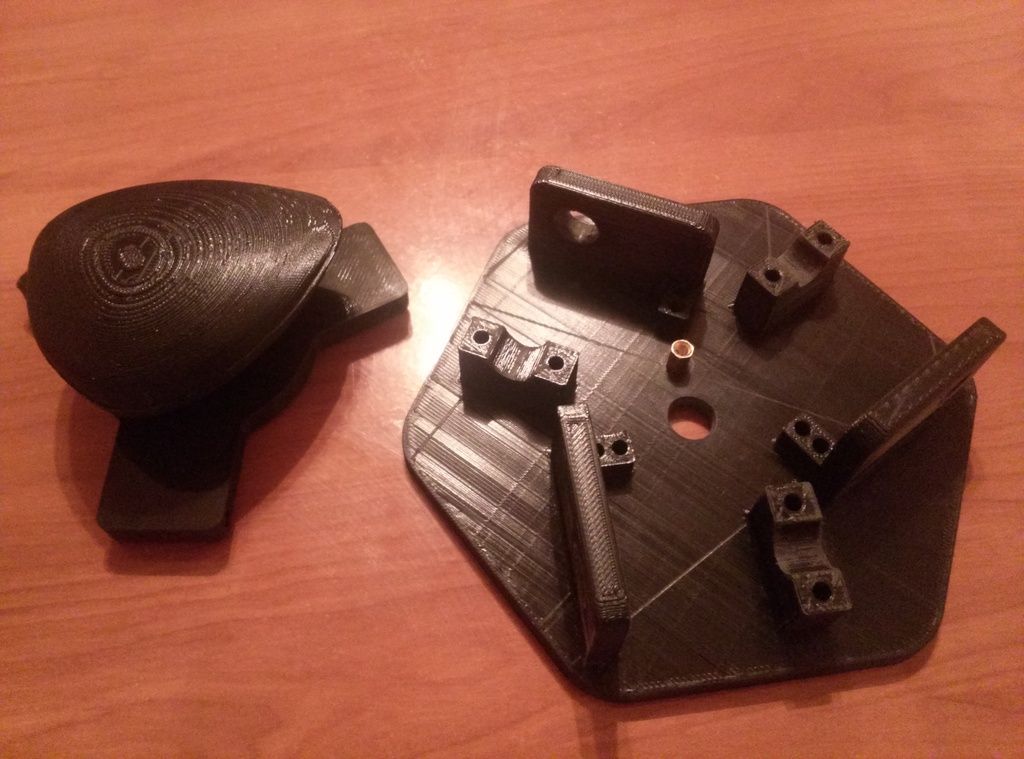
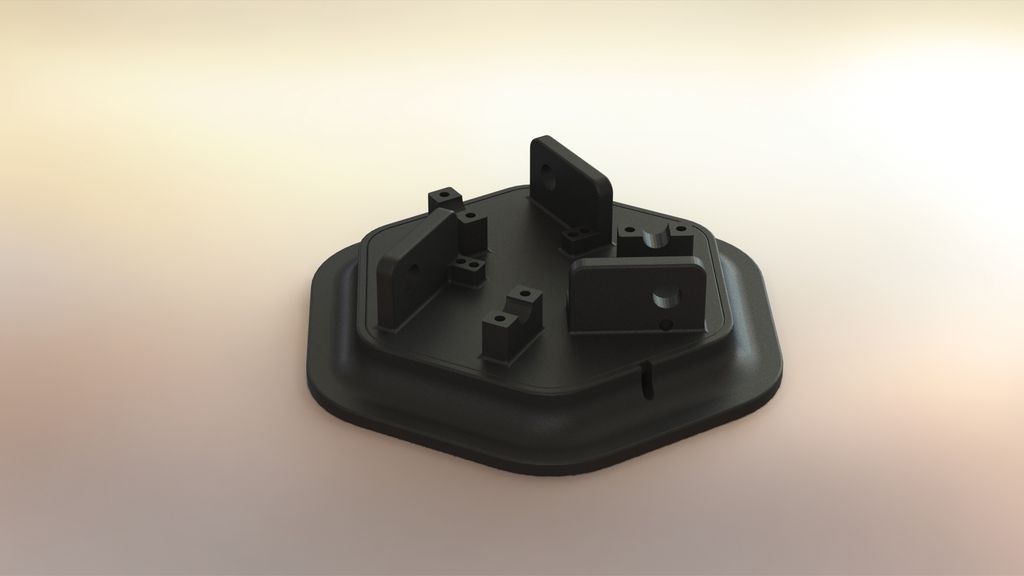
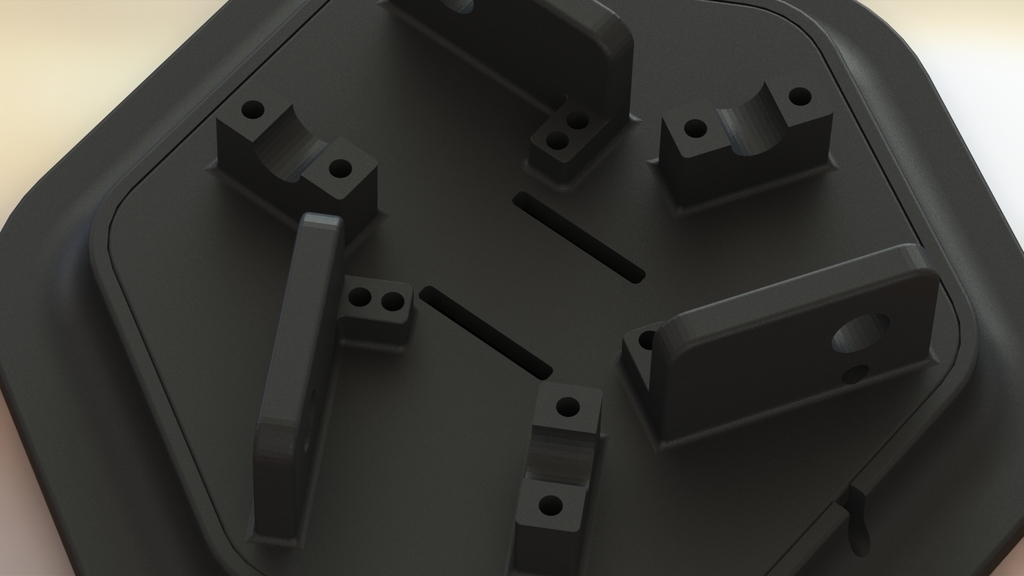
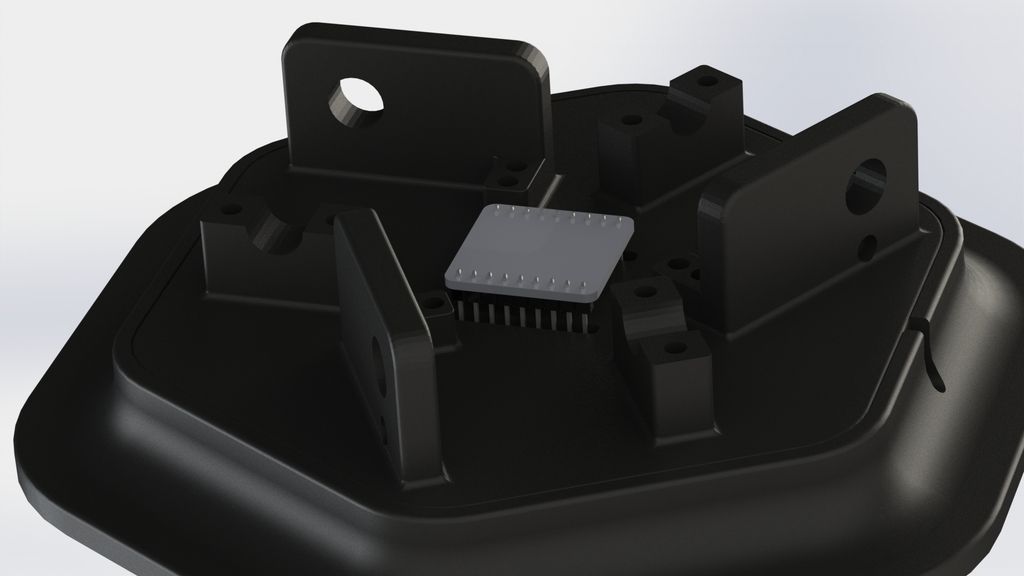
So I've added a riser to mount my custom board

Image

Image

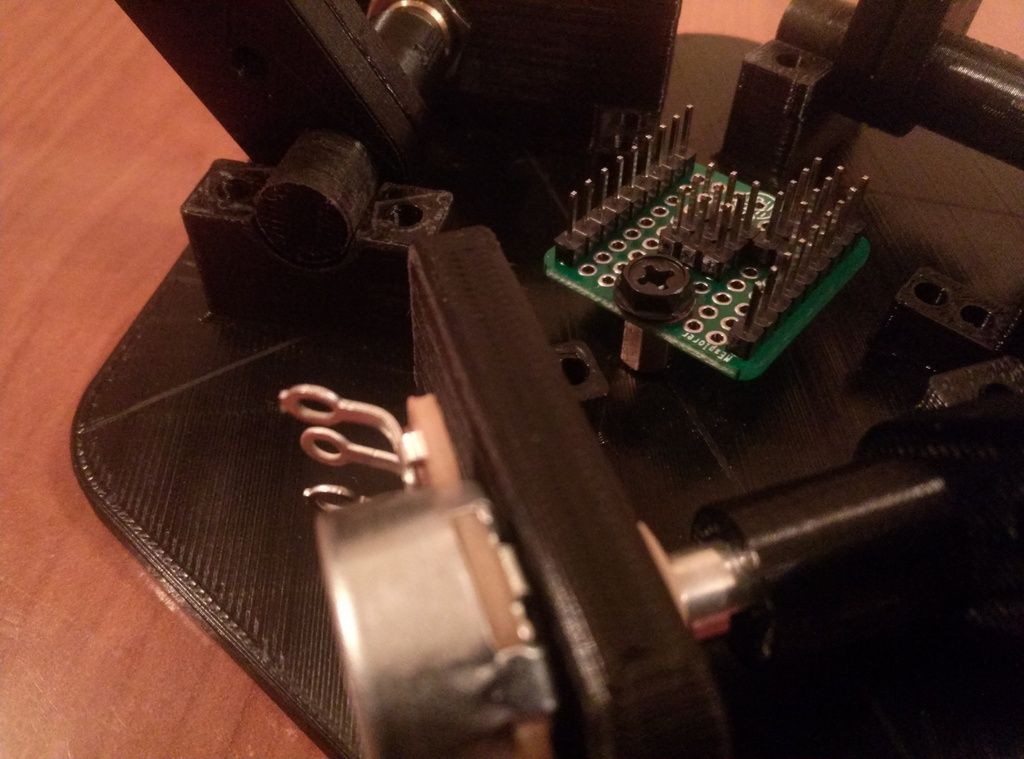
I am gonna change connections to dupont
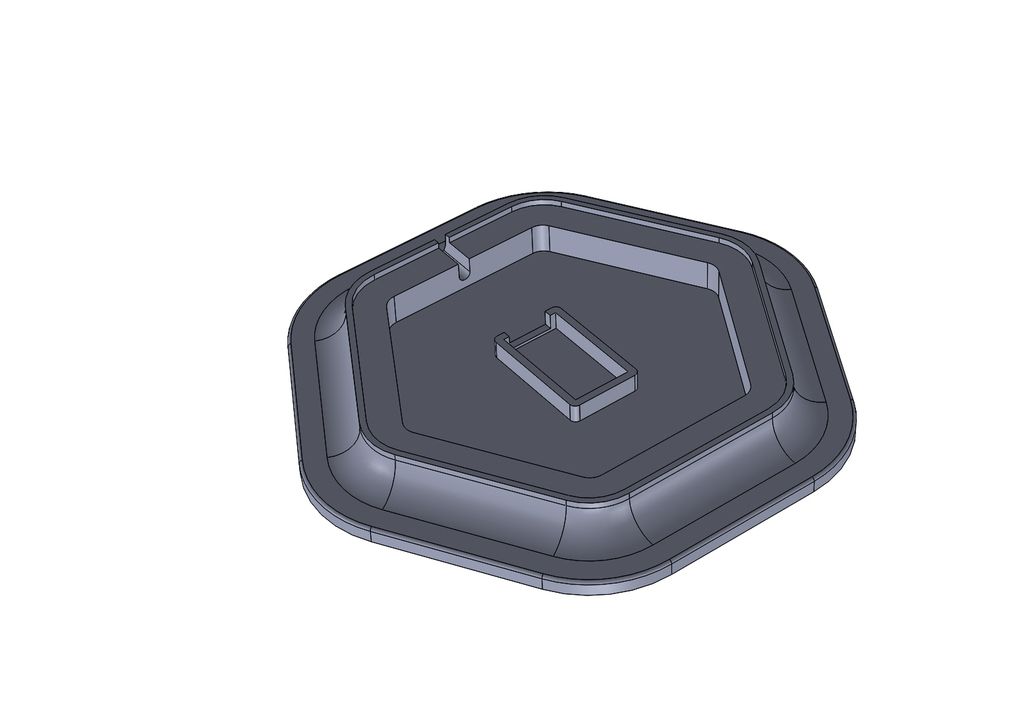
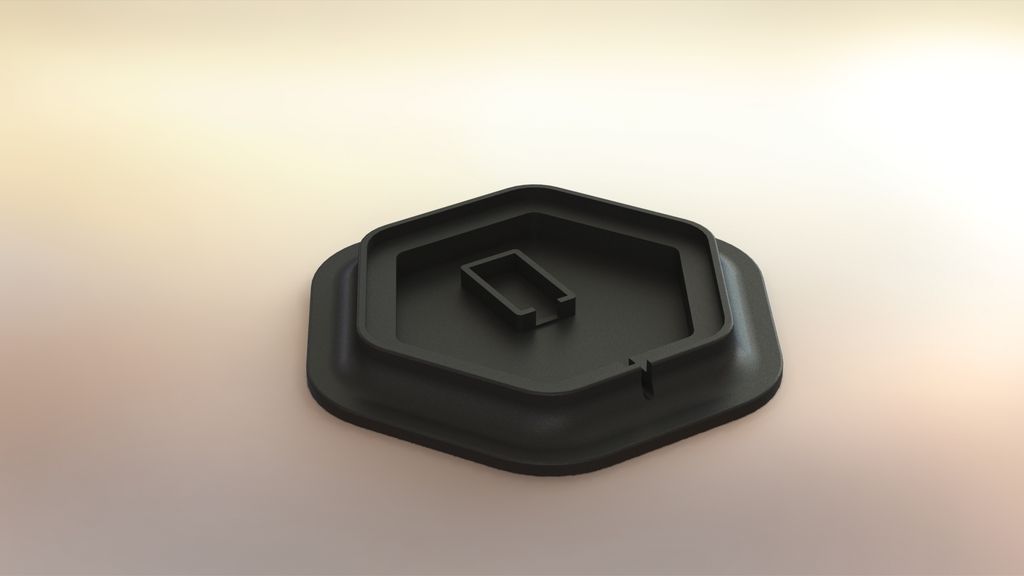
Image

open a hole below board for wires to go through and 3D print an extra flat base to hide Pro Micro and usb cable.

This Friday threaded inserts should be here so I should have a functional throttle by the end of this weekend.

Next week I will receive some black cable sleeve for final aesthetic touches.

Image
SC-Maik
 
Posts: 142
Joined: Tue Mar 03, 2015 3:20 pm

Re: Starting my build

Postby SC-Maik » Thu Mar 19, 2015 10:06 pm

Hole for wires drilled out (3/8")

Image

Handle orientation 2 o clock.

3 days left...
SC-Maik
 
Posts: 142
Joined: Tue Mar 03, 2015 3:20 pm

Re: Starting my build

Postby zdayton » Thu Mar 19, 2015 10:32 pm

I like how people are holding the handle different ways. I don't know if that means it is a good design or a bad design. I am liking the look though, print quality is good and I like the color.
zdayton
Site Admin
 
Posts: 81
Joined: Wed Dec 24, 2014 6:20 am

Re: Starting my build

Postby SC-Maik » Fri Mar 20, 2015 6:45 am

It means that is a flexible design ;)
I like the way it turns out. Thank you once more for sharing your project with the community.
SC-Maik
 
Posts: 142
Joined: Tue Mar 03, 2015 3:20 pm

Re: Starting my build

Postby SC-Maik » Sun Mar 22, 2015 12:47 am

3D model of extra base plate

Image
SC-Maik
 
Posts: 142
Joined: Tue Mar 03, 2015 3:20 pm

Re: Starting my build

Postby Jetlinx » Sun Mar 22, 2015 1:56 am

Your plan for cable management looks great, and having that base plate with the space for your board looks like it will really create a nice clean design as well as giving you a little bit more stable of a platform.
Jetlinx
 
Posts: 4
Joined: Sat Mar 21, 2015 4:50 pm

Re: Starting my build

Postby SC-Maik » Sun Mar 22, 2015 11:17 am

I have an obsession with cable management and I would like to give my personal touch to the whole project :)

And some renderings

Image

Image
SC-Maik
 
Posts: 142
Joined: Tue Mar 03, 2015 3:20 pm

Re: Starting my build

Postby SC-Maik » Sun Mar 22, 2015 1:36 pm

Holes for wiring

Image
SC-Maik
 
Posts: 142
Joined: Tue Mar 03, 2015 3:20 pm

Re: Starting my build

Postby jeruw » Sun Mar 22, 2015 3:44 pm

That's looking fantastic. I like the shape you've designed. If I hadn't drawn my own hexagon for my base I'd try to carve one out of walnut for my delta. I could probably achieve a similar effect with a router I suppose. Gives me some ideas for sure. I like that you integrated a mounting point for the board too, very nice. How much vertical room did you leave yourself? I didn't want to offset the delta too far from the table, so my interior pocket has about 10mm of clearance. I'll need 90 degree headers to do the wire hookups. I was just going to hot-glue or double stick tape the board down (depending on whether hot glue could damage things).
jeruw
 
Posts: 80
Joined: Tue Feb 17, 2015 3:10 pm

Re: Starting my build

Postby SC-Maik » Sun Mar 22, 2015 4:28 pm

jeruw wrote:That's looking fantastic. I like the shape you've designed. If I hadn't drawn my own hexagon for my base I'd try to carve one out of walnut for my delta. I could probably achieve a similar effect with a router I suppose. Gives me some ideas for sure. I like that you integrated a mounting point for the board too, very nice. How much vertical room did you leave yourself? I didn't want to offset the delta too far from the table, so my interior pocket has about 10mm of clearance. I'll need 90 degree headers to do the wire hookups. I was just going to hot-glue or double stick tape the board down (depending on whether hot glue could damage things).


I am glad that you like it. You gave me the idea after all.
I got exactly 10mm of clearance but the plan atm is to solder wires directly to pro micro and add female headers on the other end.

Here is a pic of custom board installed. One side for buttons and one side for pots.

Image

I will probably install board upside down so male headers that connect to pro micro will look downwards.

Image
SC-Maik
 
Posts: 142
Joined: Tue Mar 03, 2015 3:20 pm

PreviousNext

Return to Build progress and showcase

Who is online

Users browsing this forum: No registered users and 0 guests

cron